


August 15, 2018
If you love gardening, why not make your own compost? Not only is it really simple to do, it’s also a great way to put your kitchen scraps and yard waste to good use while super-charging your garden’s soil.
Who better to break it down for us than organic gardening expert and certified master composter, Deborah Kates?
Follow these three steps to make your own compost:
You have a few options for how you want to contain your compost: Buy a composting container from your local hardware store, build a compost bin yourself, or dig a hole in the ground if you have the space for it. It doesn’t have to be fancy, but it’s best if it’s easily accessible from your kitchen, on level ground, and in a location where it gets sun and rain.
If you buy or build a bin, be sure it has holes for air circulation and a lid. Some counties have laws that prohibit composting without a lid because it can attract skunks and other pests.
If you choose to dig a hole in the ground, line it with screening so you can tell where the soil ends and the compost begins. A plastic tarp with some holes cut into it for the rain can easily serve as a cover.
Deborah’s tip: When it comes to compost bins, I prefer black plastic, upright bins, either square or cylindrical. The black plastic helps retain heat for the composting process.
Start by building a little nest of twigs at the bottom of your compost bin or hole. This will help to create air circulation for the organic matter. Next, add your organic matter by combining a variety of carbon (brown) and nitrogen (green) sources.
It doesn’t have to be exact, but the general rule of thumb is that you want a balance of three parts carbon source for every one nitrogen source.
You can compost an assortment of materials, but know that the MVPs from each list are the dried leaves and coffee grounds. They make for a rich compost that will help to condition sandy or clay-like soil and enhance any gardening or potting soil with nutrients and organisms. Be sure to steer clear from these: 12 things you should never compost.
You can fill your bin up right away, and then as the organic matter breaks down, you’ll have space to add more carbon and nitrogen sources. Keep a covered bowl or bucket in your kitchen for fruit and vegetable scraps and dump them in the compost as needed.
Deborah’s tip: Keep in mind that the smaller the organic matter is, the faster it will break down. If you want to speed up the composting process, you can tear or shred larger pieces of matter.
If you do nothing at all, you’re likely to have a little bit of compost in a year or so. But, if you put just a little bit of care into your compost, you can speed up the process and get more in a shorter amount of time. Next spring when you’re filling pots or garden beds, you’ll be glad you have your own compost.
Here are some ways to keep your compost in good shape:
If you start composting this summer, you should have some ready to use next spring. When your compost is ready to use, it should look like…dirt! Most of the organic matter should be broken down into soil, though you may see some sticks, eggshells, or other items that are not completely broken down. If so, just throw them back in the pile and use the compost that looks ready.
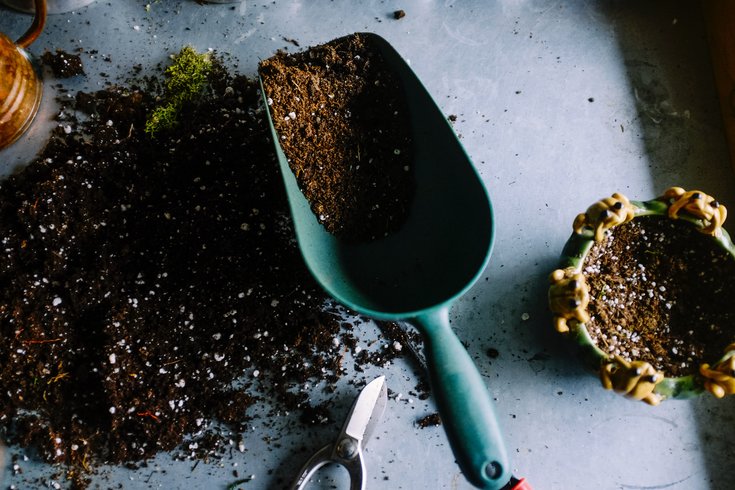
Your compost can be used for flower and vegetable gardens — you only need to add about two inches or so. It can add moisture to sandy soil or help break up clay soil, which retains too much moisture. Plus, you can add compost to potted plants as well, using about 1/3 compost and 2/3 soil in your pots. But save the compost for outdoor potted plants to avoid unwanted insects in your home.
All in all, composting is easy to do, reduces waste, and can promote new growth and (especially veggies) — a win-win for both you and the environment.
This article was originally published on IBX Insights.
Does writing count as exercise? Then my fingers are in great shape! As a senior copywriter at IBX, I've learned a lot about how health insurance works and how it can help me stay healthy. My goal is to share this knowledge with others in a fun and engaging way.